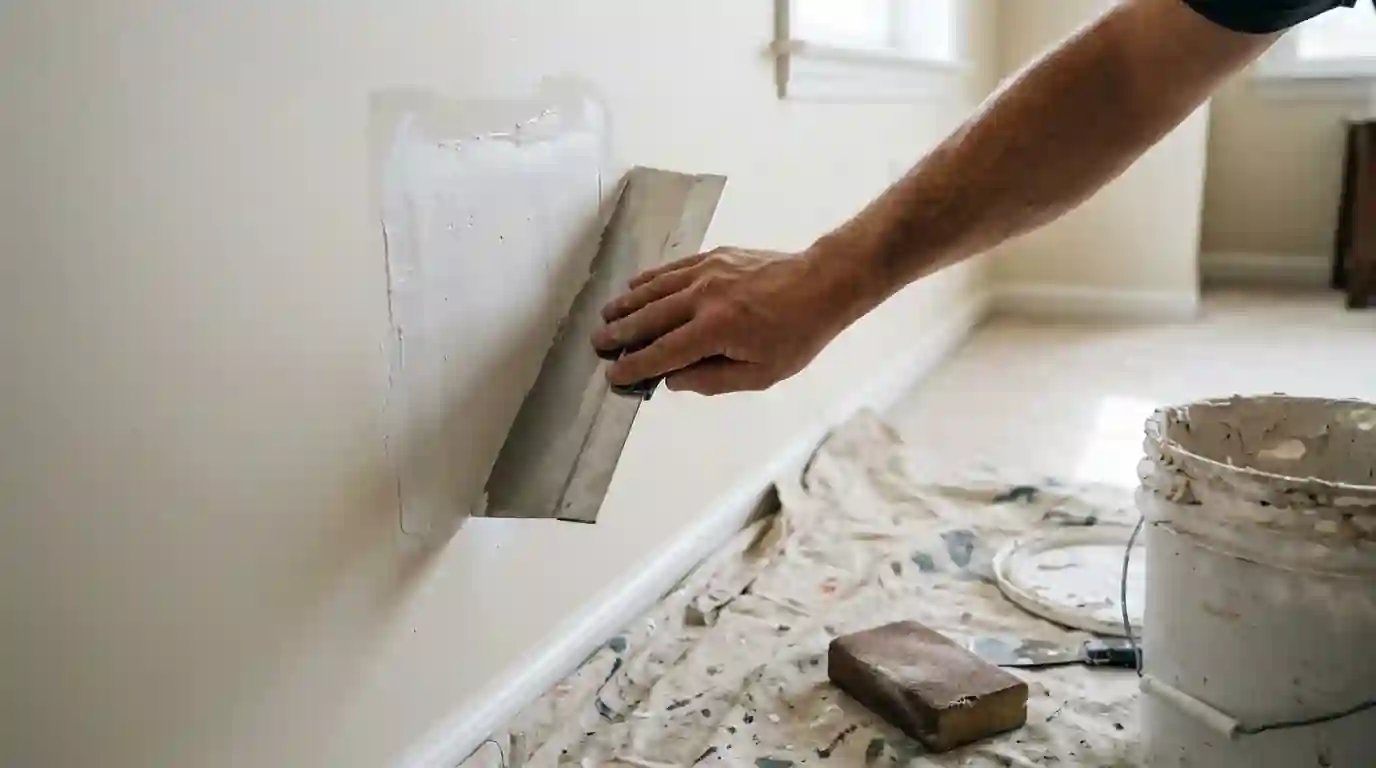
Short answer
Popcorn ceiling removal in Naperville starts with a lab test of the texture, because sprayed acoustic ceilings from before the mid-1980s can contain asbestos. HomeAdvisor publishes a normal range of $933 to $3,091 for the job and $1 to $6 per square foot for removal alone.
Why the texture gets tested before the scraper comes out
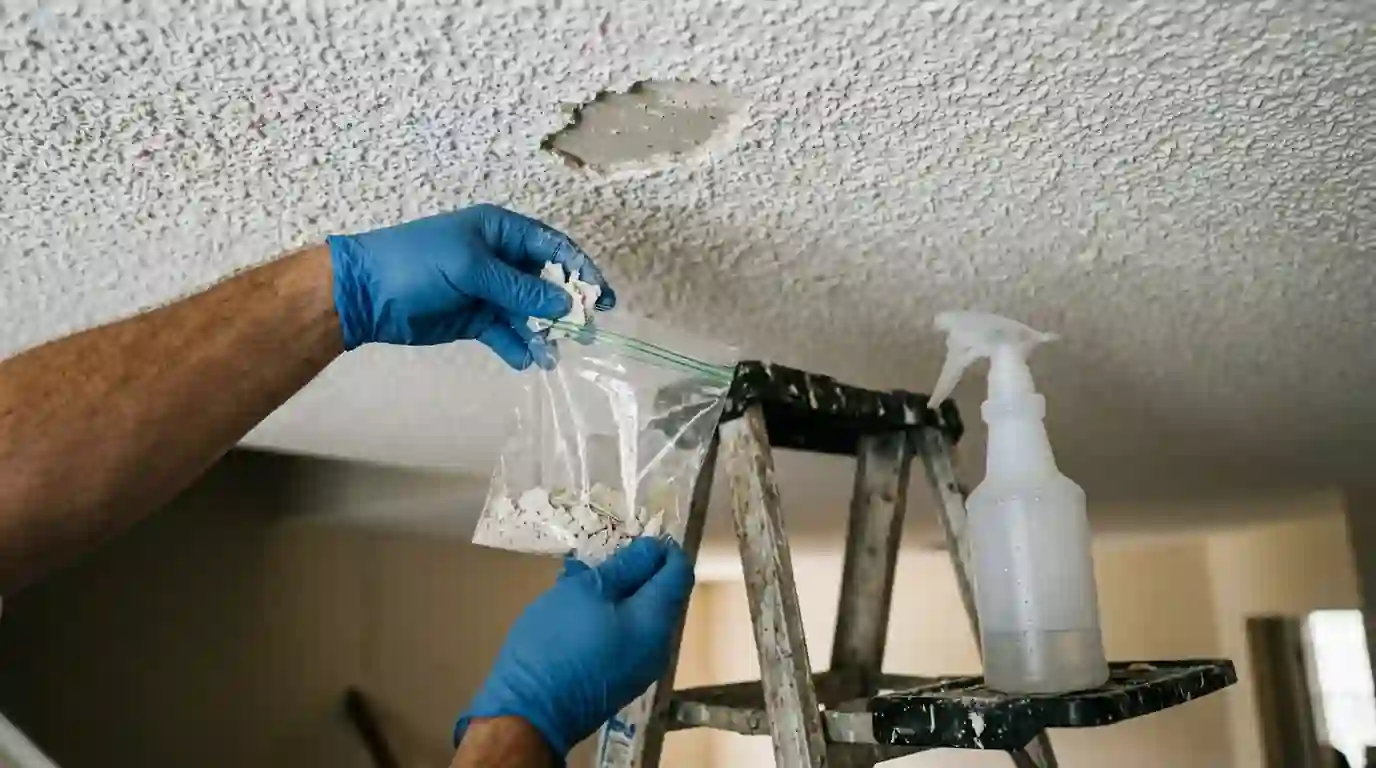
Acoustic texture applied before the mid-1980s may contain asbestos, and nobody can tell by looking. Dry scraping puts fibers in the air, so a small sample goes to an accredited lab first.
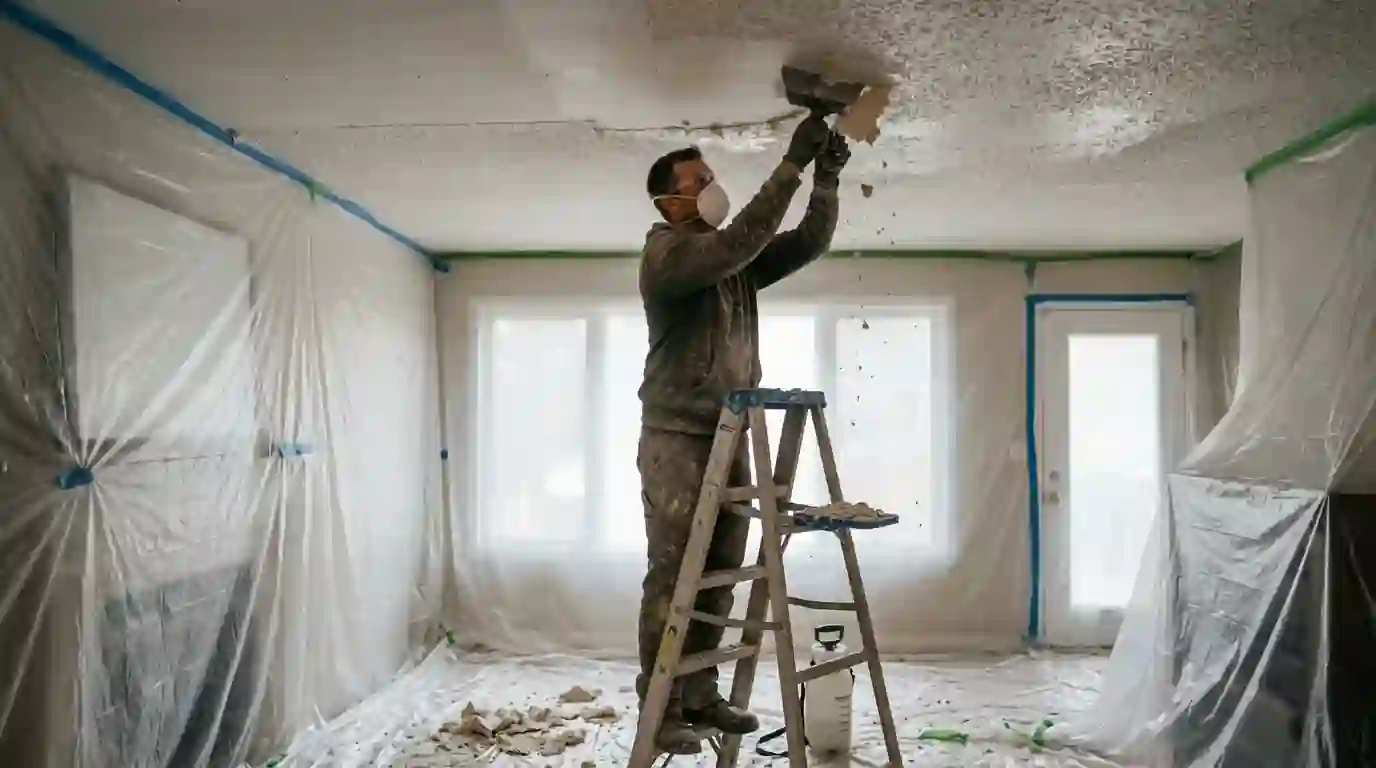
Once the lab clears it, we seal the room and scrape the texture off wet. A positive result makes removal a job for an asbestos abatement contractor, and our skim and paint follow once the ceiling is clear.
What popcorn ceiling removal costs in Naperville
Below are HomeAdvisor's published planning ranges for popcorn removal, not our quote; the lab result and ceiling condition set the real number.
| Job | Typical range | Unit | Source |
|---|---|---|---|
| Popcorn ceiling removal | $933 to $3,091 | total (normal range) | HomeAdvisor |
| Popcorn ceiling removal (removal only) | $1 to $6 | per sq ft | HomeAdvisor |
What moves the price
- Ceiling square footage and height
- Painted-over texture that resists soaking
- Smooth skim versus a light retexture
- Lab testing and what it finds
- Furniture and fixtures to clear and seal
Smooth, retextured or covered: three ways to finish
What happens after the scraping decides how the ceiling looks once the plastic comes down.
| Finish | Look | Work involved | Hides flaws |
|---|---|---|---|
| Smooth skim and paint | Clean, flat, modern | Full skim, sanding, primer, two coats | Least, so it needs the most prep |
| Light knockdown or orange peel | Subtle texture, not dated | Spray texture, knock down, prime, paint | Better at hiding seams and waves |
| New drywall over the old | Smooth, new surface | Thin board screwed through to joists | Skips scraping, lowers ceiling slightly |
Should you scrape popcorn yourself?
Some homeowners take on a small ceiling that tested clear, but the scraping is the easy part.
Fine to do yourself
- Emptying the room beforehand
- Choosing smooth or a light texture
- A small closet ceiling that tested clear
Worth calling a painter
- Skim coating a full ceiling flat
- Painted-over texture that will not soften
- Large rooms and vaulted ceilings
Testing before any scraping
Before a scraper touches the ceiling, a small piece of texture is wetted, cut out and sealed in a bag for an accredited lab. Houses built before the mid-1980s are the usual concern, but a test makes sense on any sprayed texture whose age is unknown, because it is the only way to know. In a house built before 1978, the paint on that ceiling may also carry lead, so ask both questions at once. Nothing gets scraped until the results are back in writing.
Scrape and skim
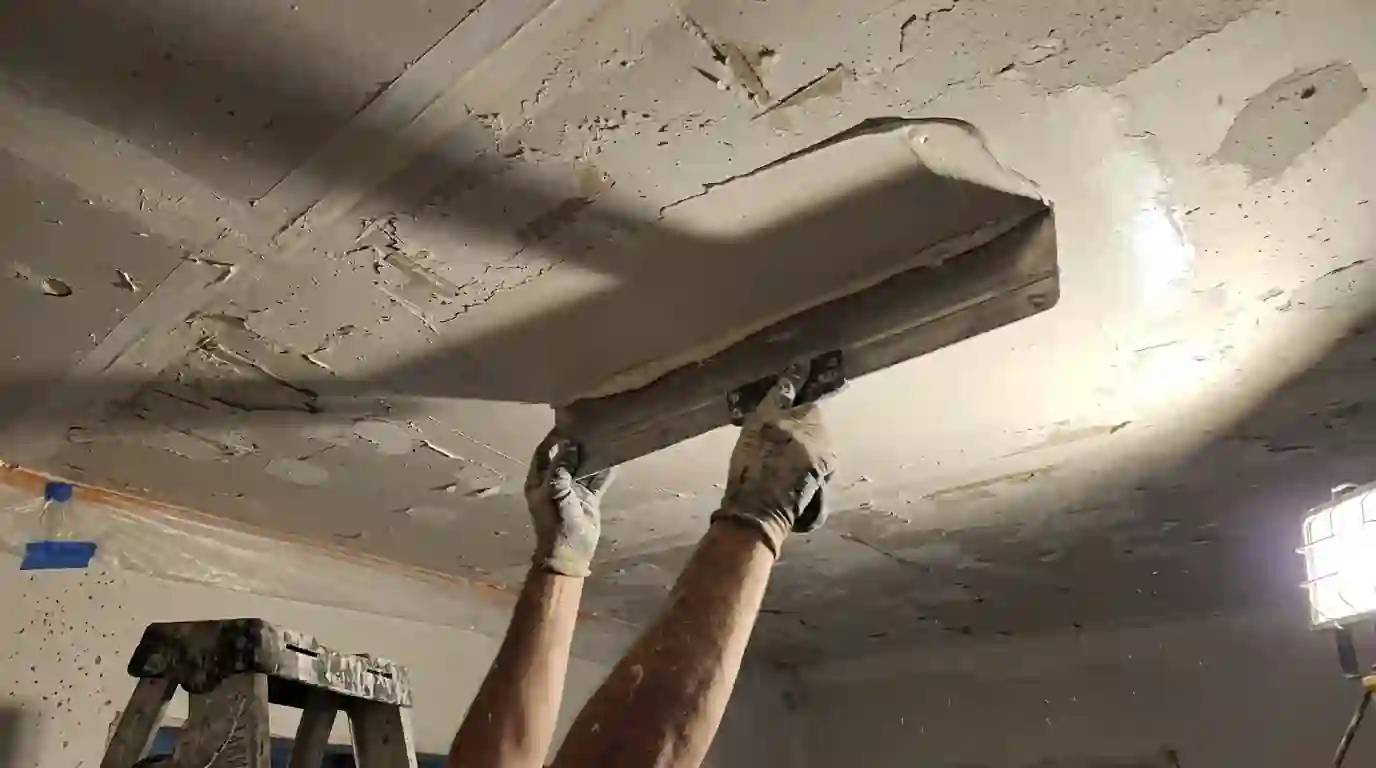
With a clear result, the room is emptied, the floor covered and the walls draped in plastic up to the ceiling line. The texture is misted with water, given a few minutes to soak in, and scraped off in wet sheets that drop onto the plastic. Scraping always leaves gouges, tape lines and old seams behind, which is why a skim coat follows. One or two thin coats of compound are troweled across the ceiling, sanded under a raking light and dusted before primer.
Retexturing or smooth finish
A smooth ceiling is the modern look, but it shows every flaw, so it needs the most skimming. If the drywall underneath has wavy seams or sags between joists, a light orange peel or knockdown texture hides them and still looks current. Either way, the ceiling gets a stain-blocking primer, since scraped drywall and fresh compound absorb paint unevenly, followed by two coats of flat ceiling white. Flat paint keeps light from catching small ripples, which matters most in rooms with big windows or recessed lights.
What a popcorn removal job includes
A typical removal job covers these steps.
- Lab testing of a texture sample
- Plastic sealing of walls, floors and vents
- Wet scraping with debris bagged as we go
- Skim coat and sanding to a flat ceiling
- Stain-blocking primer and two ceiling coats
Ceilings from the 1960s to 1980s in Will-O-Way
Many houses in Will-O-Way went up between the 1960s and the 1980s, and the neighborhood's median build year is 1987, right across the years when sprayed acoustic ceilings were a builder favorite. That makes a lab test the sensible first step on almost any textured ceiling there. In homes built before 1978, EPA's Renovation, Repair and Painting rule also covers paid work that disturbs painted surfaces, so a painted-over texture deserves that question too.
Popcorn ceiling removal, step by step
- Sample and test. A bit of texture is sent off for lab analysis first.
- Seal the room. Plastic on walls and floors, with vents and fixtures covered.
- Wet scrape. Texture misted, softened and scraped down onto the plastic.
- Skim and sand. Compound troweled across, then sanded flat under a work light.
- Prime and paint. Stain-blocking primer, then two coats of flat ceiling white.
How many days the room is closed off
Plan on two to four days per room after the lab result: one to seal and scrape, one or two for skim coats and drying, then primer and paint.
Jobs that often go with this one
Skim Coating & Smooth Walls
Textured walls troweled smooth
Ceiling Painting
Flat and textured, no lap marks
Drywall Repair
Holes, nail pops and cracks
Water Stain & Ceiling Stain Repair
Leak and smoke stains sealed